
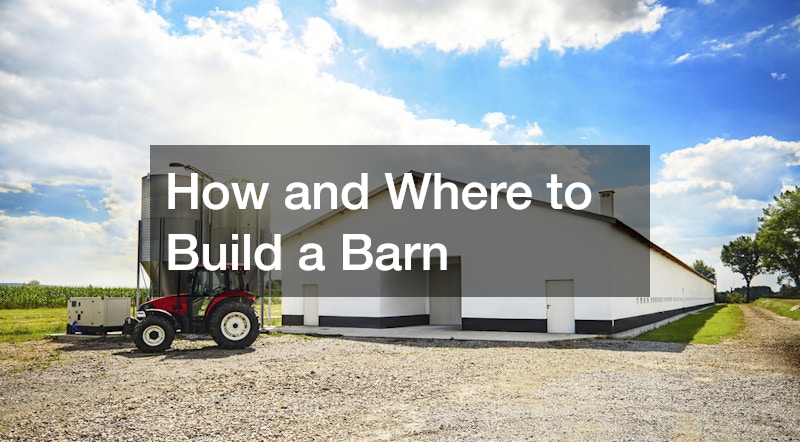
Building a barn is one of the most rewarding land development projects a property owner can undertake. Whether you are constructing a traditional timber-frame barn for livestock, a post-frame building for heavy equipment storage, a modern equestrian facility, or an elegant barn-style residence, a well-built agricultural structure adds incredible utility and long-term value to your acreage.
However, a successful barn build depends heavily on the decisions made long before the first post is set in concrete. Site selection, soil composition, sun exposure, water drainage, utility access, and local zoning codes dictate the durability, usability, and overall cost of your build. Failing to plan for proper site prep or selecting the wrong location can lead to standing water in stalls, structural settling, difficult winter access, and unexpected budget overruns.
Navigating this complex process requires a structured approach. From purchasing the ideal parcel of land and clearing the site to selecting heavy-duty building materials and hiring specialized tradespeople, every phase demands careful execution. This comprehensive guide walks you through every step of planning, designing, and constructing a barn that will serve your needs for generations.
Land Selection, Site Acquisition, and Property Zoning

The foundation of every successful barn project starts with evaluating the ground it sits on. Choosing the right location involves analyzing physical geography, local weather patterns, and legal zoning frameworks before making financial commitments.
When evaluating parcel choices, spend time observing environmental dynamics. If you are browsing local land for sale to find the ideal site for your homestead or agricultural operation, look closely at elevation, soil stability, and existing water features. High, gently sloping ground provides natural drainage, preventing mud accumulation around barn entrances and paddocks. Soil composition is equally important; rocky or heavily clay-based soils can dramatically increase excavation costs and complicate post-hole drilling or concrete foundation footings.
Beyond physical geography, investigate municipal regulations and building codes early. County zoning regulations dictate structural height limits, maximum square footage, animal density allowances, and mandatory setback distances from property lines, wells, and septic fields.
If you plan to combine residential quarters with agricultural storage, partnering with developers or brokers specializing in build-to-suit land can streamline your search. These pre-evaluated or master-planned parcels often come with established road access, pre-cleared building envelopes, and verified utility hookups, eliminating the costly guesswork of developing raw, off-grid acreage.
- Analyze soil and elevation: Select high, well-draining ground composed of stable loam or sand-gravel mixes to prevent standing water and mud.
- Verify county zoning codes: Research municipal property setbacks, building height restrictions, and agricultural land-use rules before finalizing property purchases.
- Assess seasonal sun exposure: Position barn sightlines to maximize natural winter sunlight for warmth while blocking prevailing cold winds.
- Verify utility access routes: Ensure electrical lines, municipal water, or private well sites are close enough to keep trenching costs manageable.
- Check property access: Verify that access roads and driveways can accommodate heavy delivery trucks, concrete mixers, and farm machinery.
Site Preparation, Clearing, and Environmental Grading
Once you secure your land, transforming a raw plot into a stable building pad requires heavy machinery, environmental planning, and precise grading. Proper site prep ensures that water flows away from your structure, protecting wood posts and concrete foundations from erosion and moisture rot.
Preparing the footprint begins with clearing trees, brush, boulders, and organic topsoil down to stable sub-soil. If you are developing an older property with existing, dilapidated structures, hiring professional excavation teams to manage the structural demolition of unsafe barns, sheds, or foundation pads clears a clean, safe path for new construction. Removing old footings and root systems prevents uneven settling under your new foundation pad.
Simultaneously, factor landscape architecture into your site plan. Consulting with a skilled landscape designer allows you to plan natural drainage swales, gravel driveway turnarounds, windbreaks, and retention ponds. Planting dense evergreen windbreaks on the windward side of your barn buffers winter storms, while carefully placed swales divert heavy rainwater runoff away from stalls and equipment bays.
Finally, construct an elevated building pad using compacted engineered gravel or crushed stone. Elevating the pad 6 to 12 inches above the surrounding grade guarantees that groundwater flows away from your building, keeping interior aisles, hay storage, and livestock stalls bone-dry year-round.
- Execute thorough site clearing: Remove organic topsoil, deep tree roots, and buried debris to establish a solid foundation base.
- Manage old structures safely: Hire professional crews for structural removal and waste hauling before excavating new building pads.
- Design natural water drainage: Use swales, culverts, and French drains to route surface runoff safely away from the building perimeter.
- Build an elevated aggregate pad: Compact layers of crushed stone or gravel to elevate the floor level above surrounding ground lines.
- Plan wide vehicle turnarounds: Design driveway layouts that allow semi-trucks, trailer rigs, and tractors to maneuver without reversing into main roads.
Structural Design, Framing, and Fire Safety Systems
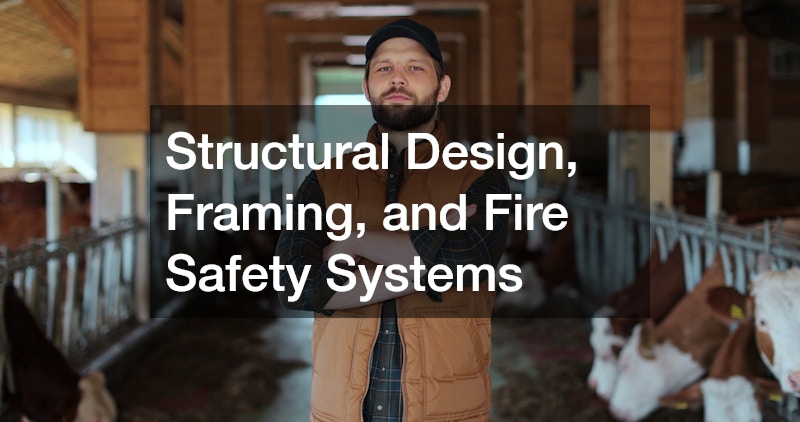
Selecting the right structural framing method and safety features determines your barn’s strength, aesthetic appeal, and resistance to environmental hazards. The two most common building styles are post-frame (pole barn) construction and traditional timber framing.
Post-frame construction utilizes heavy timber posts anchored deep into the ground or set on concrete piers, linked together by horizontal girts. This method is exceptionally cost-effective, quick to assemble, and requires fewer interior load-bearing walls, creating vast open spans ideal for riding arenas, machinery storage, and flexible stall layouts. Traditional timber framing, by contrast, uses intricate mortise-and-tenon wood joinery. While timber framing requires a higher capital investment and specialized craftsmanship, it delivers unmatched architectural beauty, extreme longevity, and timeless value.
Regardless of your chosen framing style, integrating comprehensive fire protection measures into your building plan is essential. Barns hold high concentrations of dry hay, wood shavings, fuel, and electrical equipment, making them inherently vulnerable to fire risks.
Incorporate fire-rated drywall partitions between living spaces and animal stalls, install arc-fault circuit interrupters throughout electrical systems, and mount industrial spark arrestors on chimney flues. Furthermore, installing dedicated water lines for high-pressure fire hoses or automatic sprinkler systems safeguards your animals, equipment, and structural investment.
- Compare framing methodologies: Evaluate post-frame efficiency versus traditional timber-frame aesthetics based on your budget and functional needs.
- Calculate regional environmental loads: Design roof trusses and wall framing to exceed local snow accumulation and high-wind speed records.
- Incorporate active fire suppression: Install commercial-grade fire-rated wall assemblies, smoke alarms, and interior sprinkler systems.
- Optimize interior ventilation: Plan ridge vents, cupolas, sliding barn doors, and eave vents to ensure continuous air exchange without cold drafts.
- Select durable exterior siding: Choose between heavy-gauge metal siding for low maintenance or treated wood siding for traditional rustic appeal.
Interior Outfitting, Heating, and Utility Integration
An empty shell becomes a functional barn through thoughtful interior outfitting, robust climate control, and strategic utility routing. Electrical wiring, plumbing hydrants, and interior heating units must be installed to withstand dust, moisture, and animal impacts.
Electrical distribution in a barn requires heavy-duty, moisture-resistant components. Partner with certified lighting contractors to design bright, energy-efficient interior and exterior illumination layouts. Utilizing sealed, wet-rated LED fixtures inside wash racks and dusty hay lofts prevents electrical shorts and fire risks. Placing high-output exterior floodlights on motion sensors around equipment yards enhances security and makes nighttime chores safer during winter months.
For barns that include workshops, tack rooms, or residential quarters, heat management is another primary concern. Installing a high-efficiency wood stove or cast-iron fireplace insert provides reliable, cost-effective radiant heat during freezing weather, turning a cold workspace into a comfortable year-round environment. Ensure all chimney flues clear the roofline cleanly with proper clearances from combustible framing.
Finally, lay out interior plumbing lines early in the build. Running freeze-proof hydrants, automatic livestock waterers, and hot water heaters directly into concrete slabs ensures that winter freezes never disrupt your daily livestock care or cleanup routines.
- Install wet-rated electrical systems: Use conduit-enclosed wiring, sealed junction boxes, and waterproof light fixtures to resist dust and moisture.
- Design high-visibility lighting plans: Place overhead LED task lights over workbenches, grooming bays, and main aisles for safe night operations.
- Incorporate auxiliary heat sources: Install heavy-duty heating units or masonry heating options in insulated tack rooms and office spaces.
- Protect plumbing from freezing: Bury main supply lines below local frost lines and utilize frost-free hydrants in unheated spaces.
- Organize dedicated functional zones: Separate feed storage, tack rooms, machinery maintenance, and animal stalls to streamline daily chores.
Exterior Enclosures, Perimeter Fencing, and Property Integration
A barn does not operate in isolation; it functions as the central hub of an outdoor ecosystem. Securing surrounding pastures, designing efficient livestock turnouts, and managing waste collection are vital for daily operational harmony.
Enclosing your pastures and paddocks requires durable fencing engineered for your specific animals or security needs. Hiring a professional, licensed fence service ensures that posts are set below frost depths and wire tensioned correctly to prevent sagging over time. Options like traditional wooden post-and-rail, vinyl horse fencing, or heavy-duty woven wire with top boards keep livestock contained safely while defining clear property borders.
In addition to fencing, plan functional exterior features that simplify daily property care. Construct wide, double-hung gates at pasture entrances so large tractors and manure spreaders can move easily between fields. Design dedicated wash racks with concrete pads and gravel sumps to handle water drainage cleanly without creating muddy bogs near barn entrances.
Finally, place manure storage areas downwind and well away from living quarters, stalls, and freshwater sources. Proper waste management prevents fly breeding, eliminates harsh odors, and protects ground aquifers from nutrient contamination.
- Install heavy-duty perimeter fencing: Choose wood, vinyl, or high-tensile wire fencing appropriate for your livestock and terrain.
- Incorporate wide pasture gates: Install 12- to 16-foot gates to accommodate tractors, mowers, and supply delivery trucks.
- Construct dedicated outdoor wash pads: Pour sloped concrete slabs with gravel drainage sumps for easy washing and grooming.
- Position waste management downwind: Place manure storage areas away from natural water sources, homes, and main barn entrances.
- Build stable access lanes: Lay crushed rock pathways between barn doors, paddocks, and storage sheds to eliminate mud trails.
Hiring Contractors, Permitting, and Long-Term Expansions
Bringing a complex barn build to fruition requires selecting a skilled team of trade professionals, managing regulatory approvals, and designing flexible layouts that can grow alongside your future needs.
When selecting your primary contractor, look beyond general residential builders. Partnering with a specialized local barn builder gives you access to craftsmen who understand agricultural loads, animal ergonomics, soil dynamics, and regional weather stresses. Experienced agricultural builders bring established relationships with local zoning officials, specialized subcontractors, and regional material suppliers, keeping your build on schedule and within budget.
If your project involves converting traditional loft spaces into custom living spaces, home offices, or guest suites, you may also need specialized trade assistance. Hiring experienced remodeling services ensures that interior conversions meet residential building codes, structural floor load requirements, energy-efficiency standards, and fire separation rules.
Finally, always design your barn footprint with future expansions in mind. Leave adequate open space at the ends of your building pad so you can easily add lean-to additions, extra horse stalls, or expanded equipment bays as your operations grow over time.
- Hire specialized agricultural contractors: Select builders with proven portfolios of agricultural structures and deep regional experience.
- Obtain all required permits: Secure municipal building, electrical, plumbing, and environmental impact permits before breaking ground.
- Enforce residential building codes: Work with qualified tradespeople when finishing interior office spaces or residential loft apartments.
Step-by-Step Construction Timeline for Owners
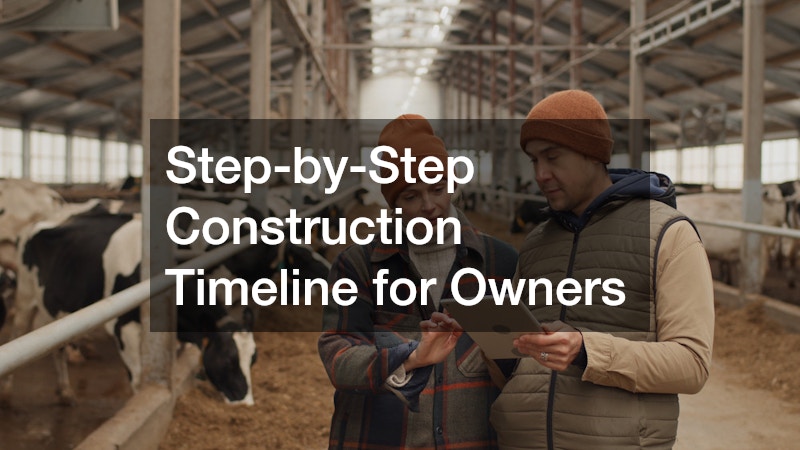
Executing a major barn build requires careful timing to ensure trade contractors work efficiently without overlapping. Below is a structured timeline to keep your project moving forward smoothly:
- Months 1 to 3: Planning and Permitting
- Finalize property purchases or conduct site feasibility studies on existing land.
- Commission soil testing and hire a draftsman or architect to complete structural blueprints.
- Months 3 to 4: Site Prep and Earthmoving
- Execute necessary structural clearing or land prep work across the building site.
- Excavate topsoil, grade drainage swales, and build a compacted, elevated aggregate building pad.
- Months 4 to 6: Structural Framing and Roofing
- Set main support posts, pour concrete footings, or lay foundation walls.
- Erect structural trusses, wall girts, roof purlins, and wall framing.
- Months 6 to 8: Interior Utility Outfitting
- Complete rough-in electrical wiring, install sub-panels, and set up conduit.
- Lay interior plumbing, install freeze-proof hydrants, and pour interior concrete floors.
- Months 8+: Exterior Integration and Finishing
- Install exterior pasture fencing, gates, and gravel access driveways.
- Complete final grading around the building perimeter and plant erosion-control grass or landscaping.
Building a Legacy Structure
Constructing a barn is a meaningful investment that blends physical craftsmanship with long-term land stewardship. By taking the time to evaluate land topography, invest in proper site preparation, select resilient structural framing, and partner with experienced local tradespeople, you safeguard your project against costly mistakes.
A well-designed, masterfully constructed barn does far more than shelter animals or store machinery; it serves as an efficient, comfortable operational hub that simplifies daily chores and enhances your property value. With careful planning, sound engineering, and systematic execution, your barn will stand strong, functional, and proud for generations to come.
